
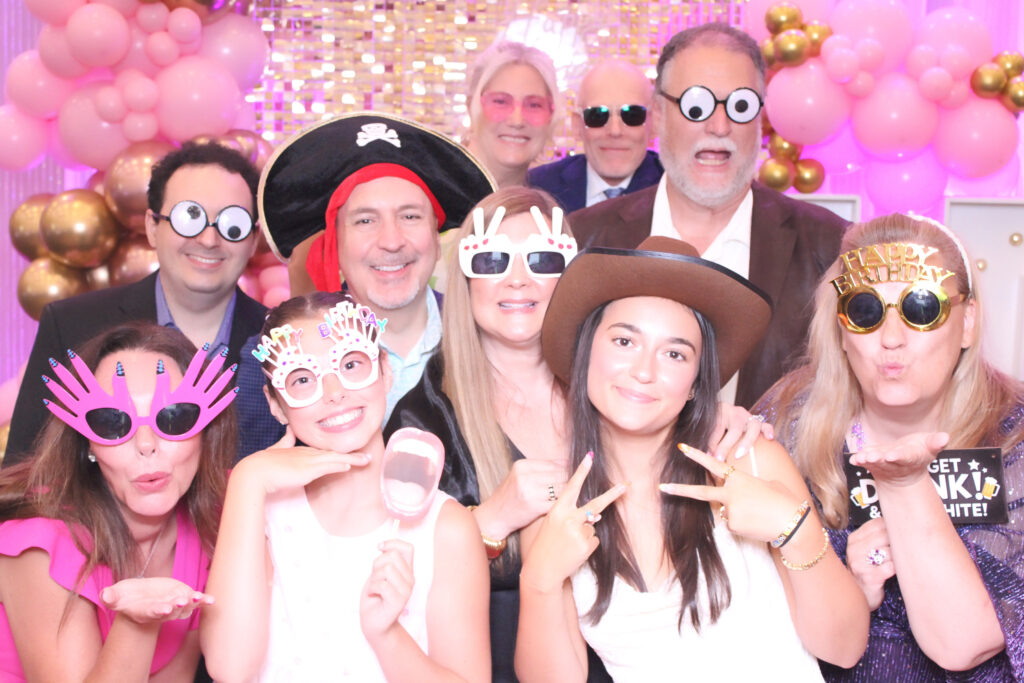
A Halloween photo booth should show the costumes clearly and let guests choose how playful or spooky they want the experience to be. Plan a backdrop that does not hide dark outfits, leave room for costume accessories, and keep props separate from anything that could interfere with the equipment. The strongest photographs come from a clear portrait setting, not simply the darkest corner of the party.
For a Toronto private celebration, start with the party photo booth options and describe the guest ages, venue, and costume theme. A family afternoon, an office costume party, and a late-night adult event need different prompts and different levels of intensity. Make that audience choice before selecting decorations or effects.
Choose a tone the whole guest list can navigate
“Halloween” can mean cheerful pumpkins, theatrical glamour, fantasy characters, or frightening imagery. Ask the host which tone belongs at the event and make the booth match it. Do not assume every guest wants gore, jump scares, or an interaction that changes without warning.
For a mixed-age gathering, a welcoming portrait setting can sit beside stronger themed decorations elsewhere in the venue. Guests should be able to see what they are entering. Keep any surprise performance away from the booth unless it has been planned with the organiser and supplier.
Offer a simple portrait without a forced expression or pose. Someone wearing an elaborate costume may want to document the work they put into it, while another guest may arrive in ordinary clothing. Both should be able to participate without being singled out or asked to explain their choice.
Make costumes visible against the backdrop
A dark backdrop can suit the theme, but it may merge with black clothing, capes, or wigs. Ask the supplier how the proposed background and lighting will separate the guest from the scene. A lighter surface, a contrasting colour, or a restrained pattern may show costume detail more clearly.
Consider the whole outfit, including hats, wings, headpieces, and accessories. The usual portrait framing may crop a tall or wide costume. Tell the supplier if the party is likely to include elaborate outfits so the setup can be discussed before arrival.
Keep the background readable. A wall filled with cobwebs, small signs, skeletons, and lights can become visually busy behind a group. Choose a main visual idea and leave open space around the people. The portrait should reveal the costume rather than require the viewer to search for it.
Check costume accessories before they reach the station
Large accessories can affect how guests enter and leave the photo area. Ask the organiser to provide a nearby place for items that cannot safely be used in the booth. The attendant should be able to explain the equipment requirements without having to negotiate every unusual prop in a crowded queue.
A costume’s visual effect is not a reason to bring sharp, heavy, breakable, or obstructive objects into the operating area. Use the venue’s and supplier’s instructions to decide what stays outside. A lightweight decorative substitute may work, but it still needs to suit the actual setup.
Be especially clear about moving-camera experiences. A cape, long scarf, large wing, or trailing piece of fabric needs careful consideration around equipment. A still-photo option can give guests a way to show an elaborate outfit without trying to adapt it to a format that is unsuitable.
Use props to add variety, not to cover the costume
Guests have already chosen their main look. A small prop selection can add a second photograph, but it should not obscure makeup, masks, or carefully made clothing. Keep the first pose simple and let guests decide whether they want an additional accessory.
Sort props by how they are used. Handheld signs can sit together, while wearable items need a separate place. Avoid a crowded pile that requires guests to dig through everything before each session. A tidy selection makes it easier to return items and prepare the next group.
Do not assume a prop is appropriate because it is sold as a costume item. The host should review wording and imagery for the actual audience. Avoid using cultural identity, disability, or a real person’s distress as the joke. A theme can be imaginative without making another group the punchline.
Keep smoke, glitter, and special effects separate
Fog, smoke, loose glitter, fake snow, and sprays can change the conditions around a booth. They may affect equipment, the floor, visibility, or the venue’s own systems. Discuss any effect with the venue and supplier before it appears in the plan.
Decorative lighting also needs coordination. A flashing light or projection that looks effective across a room may interfere with a portrait or make some guests uncomfortable. The booth supplier should know what lighting will operate nearby, including any changes during the party.
A static background can still feel theatrical. Printed scenery, approved decor, and careful colour choices may create the intended atmosphere without adding uncontrolled material or effects. Choose the visual result first, then ask which practical method can produce it in the room.
Choose the output for the type of costume moment
Still photographs are useful when the goal is to show makeup, clothing, and a group pose. Video can capture movement, but it needs an appropriate setup and instructions. A digital photo is a different output from a print, so decide what guests should leave with.
| Costume focus | Format to discuss | Planning question |
|---|---|---|
| Detailed makeup or a headpiece | A portrait-focused photo booth | Will the framing show the important detail? |
| A coordinated group costume | A still-photo booth | How many people fit comfortably in the frame? |
| A short character movement | A video experience | Is the costume compatible with the operating space? |
| A keepsake for family guests | A printed photo | How will copies be distributed? |
The 360 booth planning guide explains why video requires a different approach. Do not select moving equipment solely because the costume looks dramatic; match the format to what the guest can comfortably and safely do.
Work around a costume contest
If the event includes a contest, decide whether the booth is simply for souvenirs or also provides images for judging. A judging process needs its own rules, labels, and responsible organiser. The attendant should not have to choose winners or interpret categories that have not been agreed.
For souvenir-only photos, keep the booth open independently of the contest where the programme allows. If the contest uses booth images, explain the process to entrants before they join the queue and confirm that the supplier can provide the required files or labels.
Do not put a winner title on a general print before results are announced. A neutral Halloween design works for all guests. Winner portraits can be taken separately after the presentation if that time and output are included in the plan.
Plan a welcoming family session
For children and mixed-age guests, keep instructions short and give families time to gather before entering. A familiar adult can help a child decide whether to participate. Avoid making a reluctant child pose simply because the rest of the group is ready.
Choose signs and props that can be understood without reading a long joke. Keep the station visible to the organiser, and agree on how photographs and gallery access will be handled. A family event should not rely on children managing a sharing screen alone.
Consider an earlier, calmer photo period if the party becomes louder later. That gives families a chance to use the booth while costumes are comfortable and everyone has energy. The exact timing should follow the actual programme rather than an assumption about every child’s routine.
Keep the queue clear of decorations
Halloween decor can extend into walkways in ways that are easy to miss during setup. Check the route to the booth after all decorations are in place. Guests wearing masks, long garments, or unusual shoes may need an especially clear path.
Confirm the operating footprint and waiting area with the supplier. Do not fill the remaining space with a decorative coffin, large pumpkin display, or prop table without checking how guests will move. The room needs to work when several people are waiting, not just when it is photographed empty.
For a Toronto condo or rented room, confirm unloading and building access before the party. The downtown venue guide helps with that brief, and the space and inclusions guide helps separate equipment needs from decorative ideas.
A practical example for an office costume party
Imagine an office reception with snacks, informal photos, and a short costume contest. The booth starts with a neutral Halloween design and a background that contrasts with dark clothing. Employees can take a plain portrait or use optional props, and a host gathers coordinated group costumes before their turn.
The station pauses for the contest announcement if it would distract from the programme. The organiser handles judging and prizes; the attendant handles the photographs. Afterwards, guests can return for informal pictures within the booked hours. No one has to enter the contest to enjoy the booth.
This example keeps three jobs separate: entertaining guests, photographing costumes, and choosing contest winners. That separation makes the event easier to explain and avoids unexpected responsibilities for the supplier.
Give guests a place to adjust their costume
A small preparation spot outside the queue can help guests check a hat, straighten an accessory, or put down a bag before their turn. Keep that area separate from the equipment and confirm what furniture the venue can provide. It should make the next session easier, not create another obstacle beside the booth.
Ask guests to complete makeup changes away from the camera and printer. Loose powders, sprays, and open containers do not belong on the equipment table. A costume can be adjusted elsewhere and brought back ready for a portrait.
At the end of the party, have an organiser check for personal costume pieces that may have been left near the station. They can look similar to hired props, so keeping separate storage from the beginning makes collection clearer.
Finish with a clear artwork and sharing plan
Approve the final template with the event name, date, and selected wording. Use the props and print-design checklist to keep that approval organised. Confirm who receives the gallery and how guests can obtain their images without being required to post publicly.
Send the venue, age mix, costume theme, planned effects, and preferred output through the quote request form. Include any contest or programme pause. A Halloween booth should make the costumes easy to enjoy while keeping the room, guest choices, and photographic experience clear.